Helping to foster healthy eating habits among children and adolescents in Tampa Bay
Procedure
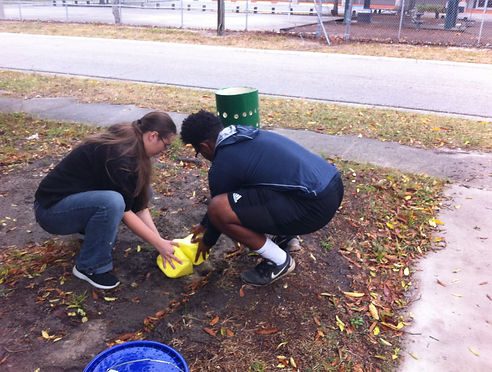
1. Obtain materials
a. We were able to get all our tools from Walmart, Dollar General, or any craft store
b. We got the bottles and jugs from recycling bins, or people brought them from home
i. Everything goes much smoother if you can get the same types of bottles (e.g. Each row made of all 1L Pepsi bottles, or all 1-gallon jugs, etc)
c. Some of our PVC was donated and some of it was bought from Home Depot
2. Prepare the bottles
a. We cut off the tops and bottoms of each bottle and glued them into each other to create a tube roughly the same height as the structure (5ft)
b. Cut holes down the side of the bottle tube large enough for a plant to grow from, ours were about 2X3 inches, but it doesn’t have to be exact
c. Make a tube with the landscape fabric and pull it through the bottle tube to create a layer between the dirt and the plastic (this will take some trial and error)
3. Prepare the jugs
a. To prepare the jugs we cut off the top part, along with the handle, then put a hole in the bottom and enlarge the hole where the handle was so that the PVC pipe can fit through it but is still snug
b. Poke drainage holes in the bottoms of the jugs
c. Glue or staple a layer of landscape fabric in the jug to hold the dirt
4. Paint
a. We painted the PVC and the bottles
5. Construct the PVC framework
a. We decided to make the frame 5X5X5, but anything works
b. We took the PVC that was donated to Home Depot and they cut it for us along with the ones we purchased
c. We used PVC cement to secure the PVC structure, except for the top of the cube so that it can be taken off to access the jugs if they need to be removed
6. Connect the jugs and bottles to the structure
a. We used twine to secure the bottles to the structure by cutting a small hole at the top of the bottle tube, threading it through, and tying it to the PVC
b. Fit the jugs onto the poles of the garden
7. Secure it
a. Use weights or stakes to secure the structure to the ground
8. Fill the bottle tubes with soil from the top
a. To cut a hole in the exposed landscaping fabric and plant your seedling or seeds of choice
9. Fill the jugs with soil and plant in them like you would a pot
Suggestions and Issues
· Acrylic paint may chip or come off due to weather
· The jugs and bottles may have a limited lifespan, especially in the sun. However, everything on the project can be easily replaced
· This project was finished in December, because of this we have to wait until at least February to begin planting so stay tuned for updates!